How to Setup Apache Virtual Host on Windows Using Xampp
Enable virtual hosting in apache

What is a virtual host
Virtual hosting is a means of hosting multiple websites on the same machine. Virtual hosting is achieved through various means which include ip based, port based and name based. In this tutorial we are going to demonstrate how to enable virtual hosting by means of name using xampp apache server.
Virtual hosting helps save the cost of procuring new hardware to host different websites by instead hosting multiple websites on one server and making full use of your server hardware capabilities which include CPU processing, ram and storage.
How to Setup apache virtual host on windows using Xampp.
Below is a step by step guide to configure virtual hosts on xampp apache server. Carefully edit the named files to avoid corrupting your windows operating system networking and that of xampp apache server.
1. Create Folder in htdocs where your website is served from
Xampp serves html and php files from the htdocs folder located in “C:\xampp\htdocs” assuming your xampp installation is in local disk C.Otherwise consider replacing C with your appropriate drive letter. Create a folder inside htdocs and name it “vhosttesting” and inside “vhosttesting” folder create a index.php or index.html file with below content.
<!DOCTYPE html>
<html lang="en">
<head>
    <meta charset="UTF-8">
    <meta http-equiv="X-UA-Compatible" content="IE=edge">
    <meta name="viewport" content="width=device-width, initial-scale=1.0">
    <title>Document</title>
</head>
<body>
    <h2>This a  virtual host Testing Page</h2>
</body>
</html>
2. Adding Host Entry to Hosts File
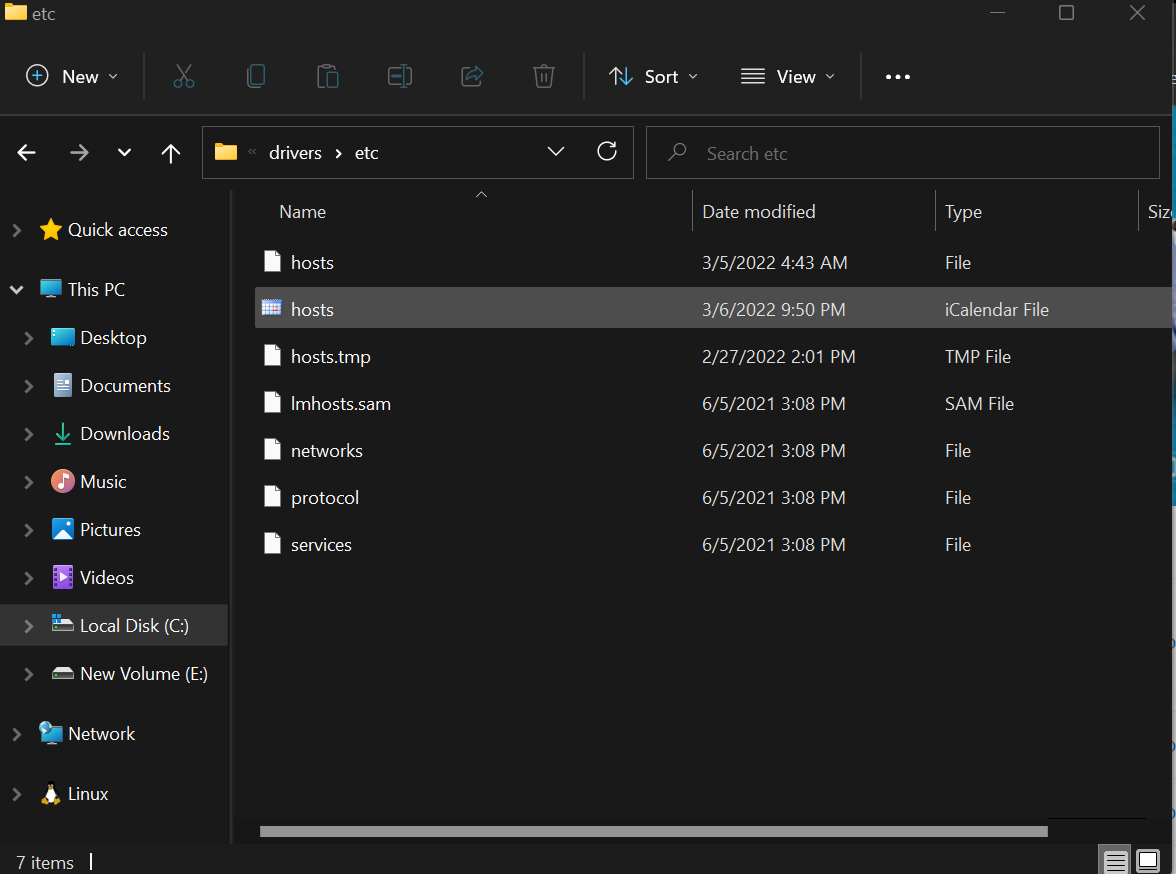
Navigate to “C:\Windows\System32\drivers\etc” . Inside the etc folder you will find multiple files used by the windows operating system for network configurations. We will be interested with the hosts of type File leave the one with type “ICalender File”.
Note you will need administrator permissions to edit hosts file. It is advisable to open your favorite editor as administrator.
Open the hosts file and at the bottom add a new entry as follows.
127.0.0.1 vhost.test
Later we will use vhost.test to access our website.
3. Updating Virtual Host Configuration File
Apache web server configuration file is located at “C:\xampp\apache\conf\extra”. Open “httpd-vhosts.conf”. At the bottom of the file add the following instructions.
<VirtualHost *:80>
     DocumentRoot C:/xampp/htdocs/vhosttesting
     ServerName www.vhost.test
 </VirtualHost>
Note we have specified the port 80, this the port we will access vhost.test. DocumentRoot is the file route where our resources are located and serverName is the domain name we will use to access the resources. Remember we added vhost.test to our hosts file list. We could have added more configurations in the virtualhost but let us keep it simple.
4. Enable Virtual Hosts in Apache
Virtual hosts may not be enabled in xampp apache server for some reason. To confirm virtual hosts are enable open “httpd-vhosts.conf” located at “C:\xampp\apache\conf\extra” and search for “Include conf/extra/httpd-vhosts.conf”
To enable virtual host remove “#” at the beginning of the line to have
Include conf/extra/httpd-vhosts.conf
This is the final step configuring virtual hosts in windows apache server. To confirm everything is working, restart xampp and enter vhost.test in your browser.